Transforming your outdoor deck with a fresh coat of stain is a rewarding home improvement project, but achieving a smooth, professional finish can be challenging for many homeowners. While brushes and rollers are traditional choices, they often leave behind streaks, lap marks, or uneven coverage. For those searching for a method that delivers consistent, high-quality results, using a Stain Pad Applicator is a top solution that stands out among DIY enthusiasts and professionals alike.
Why Choose a Stain Pad Applicator?
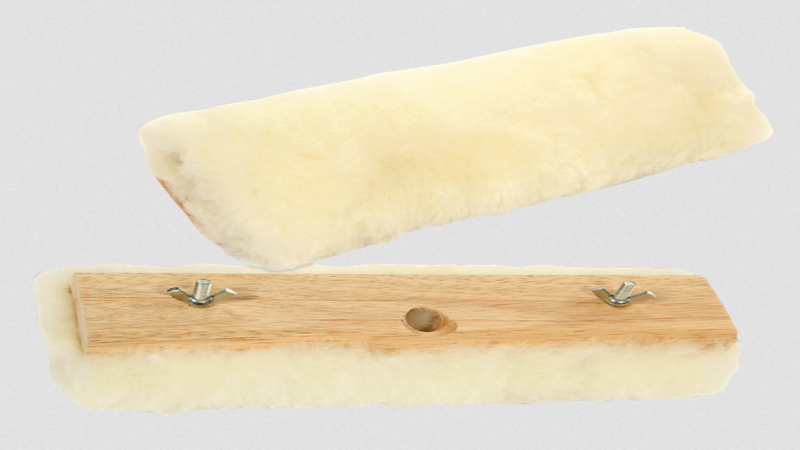
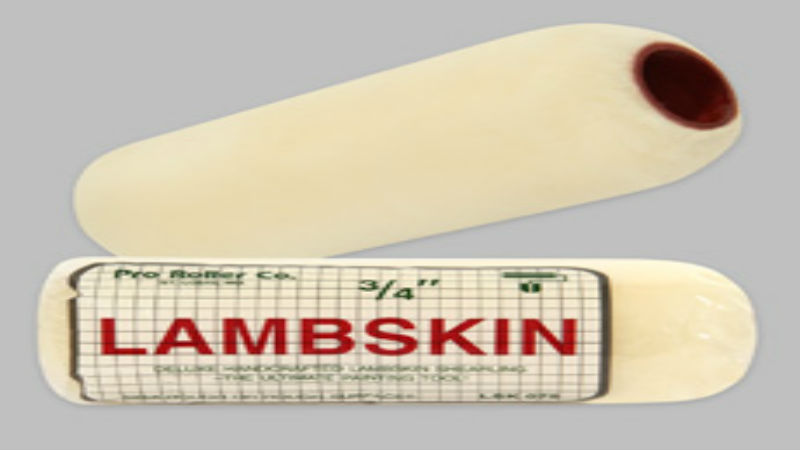
A stain pad applicator is designed to address common staining challenges by offering even application and minimizing wasted product. Its flat, absorbent surface allows for more controlled distribution of stain, making it easier to achieve a uniform appearance across your entire deck. Unlike brushes that can leave bristle marks or rollers that may cause splattering, a pad applicator glides smoothly over wood surfaces, ensuring the stain penetrates deeply and evenly.
Key Benefits of Using a Stain Pad Applicator
- Smooth, Even Coverage: The pad’s design allows for consistent application, reducing the risk of blotches or streaks.
- Efficient Product Use: Pads absorb and release stain efficiently, minimizing drips and ensuring you use just the right amount.
- Less Mess: With fewer splatters and spills, cleanup is simplified compared to brushes or rollers.
- Easy to Maneuver: Pads can reach into corners, edges, and between deck boards, providing thorough coverage even in tricky spots.
- Time-Saving: The wide surface area of the pad means larger sections of your deck can be stained quickly.
How to Use a Stain Pad Applicator for Deck Projects
To make the most of your deck staining project, follow these straightforward steps:
1. Preparation: Begin by cleaning your deck thoroughly and allowing it to dry. Sand any rough spots to ensure a smooth surface for the stain.
2. Stain Selection: Choose a quality deck stain that complements your wood and desired look.
3. Application: Pour the stain into a tray and saturate the pad evenly. Start at one end of the deck and work with the grain of the wood, applying smooth, even strokes.
4. Attention to Detail: Use the pad’s edges to reach tight corners and between boards. Reapply stain to the pad as needed for consistent coverage.
5. Drying: Allow the stain to dry according to manufacturer’s instructions before using the deck.
Tips for Best Results
- Work in manageable sections to maintain a wet edge and avoid lap marks.
- Avoid staining in direct sunlight or extreme temperatures to prevent rapid drying.
- Clean the pad thoroughly after use to extend its lifespan.
Enhancing Your Deck’s Longevity and Appearance
Regular maintenance and proper staining techniques not only improve your deck’s visual appeal but also protect it against the elements. By choosing a stain pad applicator, you’re investing in a tool that streamlines the process and produces superior results. The even coverage and efficient application help preserve the wood’s integrity, ensuring your deck remains a beautiful, functional outdoor space for years to come.
In summary, the right tools make all the difference in DIY projects, and a stain pad applicator is an excellent choice for anyone seeking smoother, more professional deck staining results. With its user-friendly design and impressive performance, you can approach your next home project with confidence, knowing your deck will look its best.